
To add VLANs to the Cisco 200 series, perform the following steps:
1. Under the VLAN Management section, click on VLAN Settings. Then click the “ADD” button to add your new VLAN(s) and label them appropriately, then APPLY.

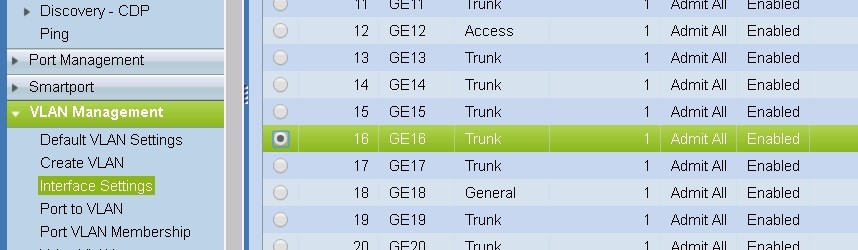
2. Now move to the Interface Settings section under VLAN Managment to verify port settings. Access = single VLAN, Trunk = multiple VLANs. Click an interface, then Edit to change the access.
3. Now move to the Port to VLAN section under VLAN Management and select the new VLAN in the “equals to” drop down and Port, then select GO. You can exclude, or tag as needed


When you are finished making changes, make sure to save this new Running Configuration to the Start-up Configuration.

Those are the 3 main areas for setting your VLANs. Remember that if your phone server, in this example, is plugged into port 24, make sure it’s tagged as only VLAN10.
Then make sure to do the same thing with your Firewall (LAN). If it’s connected to port 23, make sure it’s tagged only as VLAN1. These are your egress points.
Full screenshots


Meraki Layer 3 Switching – https://documentation.meraki.com/MS/Layer_3_Switching/Layer_3_Switch_Example
YouTube – Initializing Layer 3 Routing – https://www.youtube.com/watch?v=-_ysGtJQLU4
Recent Comments